
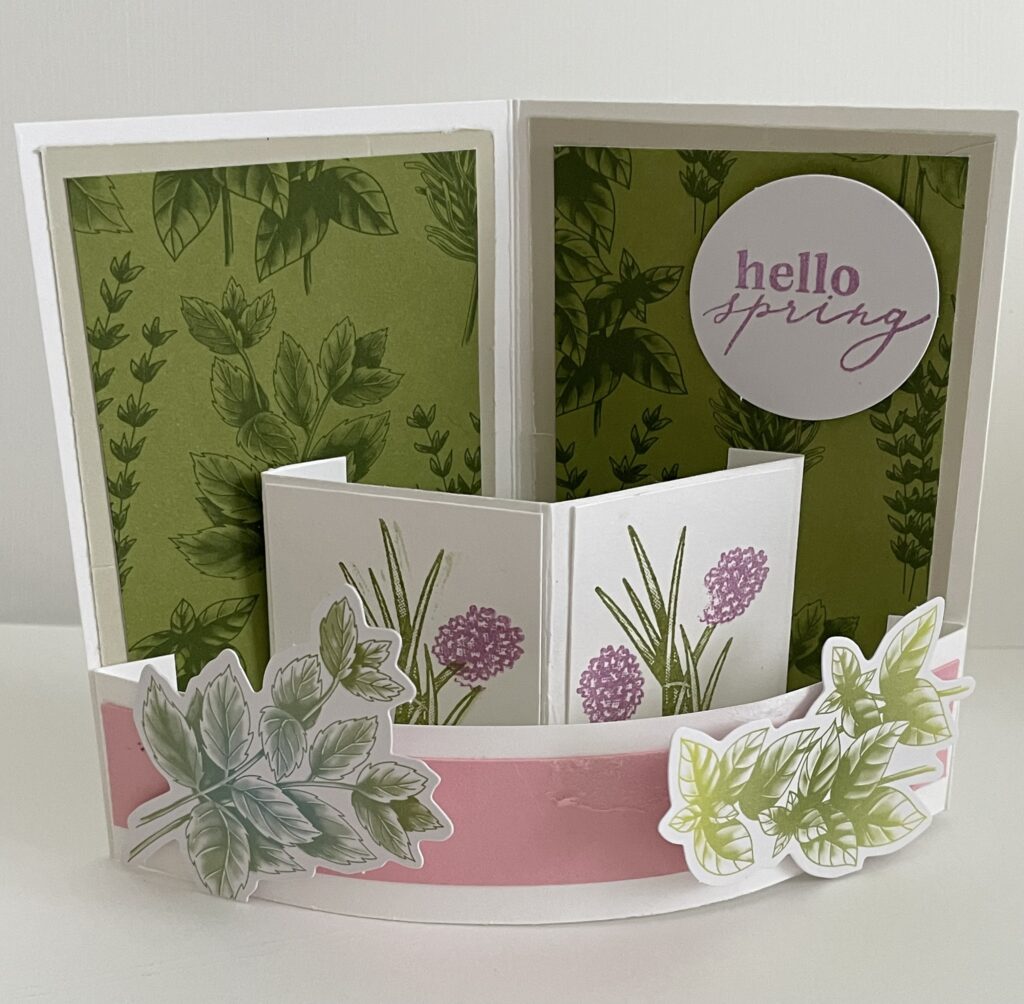
I love to create one sample of the cards as the directions indcate. Then I like to add inventory from my crafte room and create alternatives. Here is what I created.
Below I listed the supplies I used to create this Bendy Card. Feel free to create your Bendy Card.
Stampin” Up Supplies
From the kit
- (2) 4” x 2-½” Basics Beige. Cut from an envelope in the kit.
- (4) 3-¾” x 2-¼” pieces of the inside of the envelope. It is the Olive Green with the herb print.
- The stamp set from the kit
- 2 pieces of leaf ephemera
- Tear & tape
From my inventory:
- A 4-¼” x 5-½” piece of Basic White card stock. Scored at 2-¾”
- A 4-½” x 2-¼” piece of basic white. Score at ½”, 2-¼” and 4”.
- A 6-½” x 1-¼” strip of Basic White Card stock. Score at ½” and 6”.
- Granny Apple ink
- Melon Mambo ink
- Acrylic blocks
- Multipurpose glue
- A ¾” x 5-½” strip of Pretty in Pink card stock
- (2) 3” x 1-½ pieces of Basic White card stock
- Bone folder
Assemble
- The 4-¼” x 5-½” after you’ve scored becomes your card base. With your bone folder crisp the fold.
- Then with multipurpose glue adhere the 3-¾” x 2-¼” pieces of the olive green print from the inside one of the envelopes, onto the 4” x 2-½ pieces of Basic Beige.
- Adhere one of these layers to each side of the inside of your card base.
- Adhere the remaining two layers to each of the sides of the outside of your card base.
- Take the 4-½” x 2-¼ piece of Basic White and fold along the score lines.
- With the Granny Green ink and the chives stamp, stamp on either side of the middle scoreline.
- Then with the Melon Mambo ink and the bloom stamp, stamp some blooms on the chives you just stamped.
- With the tear & tape that was in your kit, place some tape on each sides between the edge and the fold line.
- Place this 4-½” x 2-¼ onto the card base. Make sure the fold line that is in the middle of this strip is lined with the fold line of the card base.
- Holding the middle folds together fold back the edges that have tear & tape and adhere. You have created the middle decorative element.
- Now adhere the ¾” x 5-½” strip of Pretty in Pink cardstock between the score lines of the 6-½” x 1-¼” strip of Basic White Card stock.
- Place a strip of Tear & tape on the edges of this 6-½” x 1-¼” . The tape should fit nicely between the edge of the cardstock and the scored line.
- Fold back the score lines and adhere this long strip to the bottom edges of the inside of the card base.
- With the ephemera decorate the strip.
- You can decorate the outside of the card. I stamped some chives on a piece of Basic White and adhered onto the layered panel that would be seen when the card is closed.
- I adhered a piece of Basic white to the back of the card for a message.
