
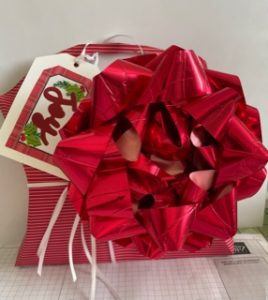
This pillow box is an option that can be personalized by you, for those Christmas gifts under your tree.
You can make this and decorate however you want. What you will need follows:
- 2 12×12 Sheets of Christmas or festive Designer Paper. You can find one of my favorites at my store. It can be found on page 57 of the mini catalog. The item number is 153492. (Definitely look through the catalog as there are numerous choices. Just make sure the size it 12×12 if you want to make this box.)
- 1 10 inch disk. That can be a 10 inch round plate, paper plate, etc.. I traced a 10 inch lid to one of my cooking pan lids onto a piece of cardboard. Thus created a template that can be used for other projects.
- Your trimmer-you will be using the scoring blade. I used my scoreboard. If you don’t have either of these you can use a ruler. Trimmers can be found at my store item #152392, page 151 in annual catalog.
- a bone folder. If you don’t have one of these a stylist or pointed item that can score the paper.
- scissors
- Glue.
- A punch, (small circle or label)
- ribbon that coordinates with designer paper.
- a tag so that you can label to and from.
- A sharpie – black
Now lets get started:
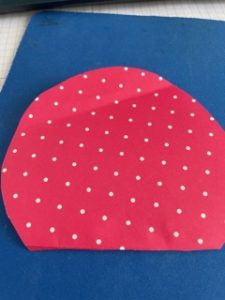
- Make sure you 12×12 sheet of paper are facing the same direction. Most likely you will place the patterns if there is on in horizonal or portrait fashion.
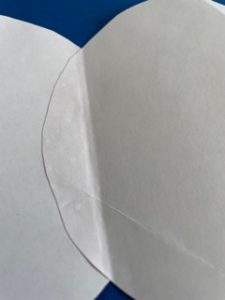
- Lay your template on the sheet and trace with your sharpie the circle. You will want to do this for each circle. Tracing the circles individually will omit the chance of any issue.
- With your scissors cut out each circle. Again cut them individually. Cut just inside the sharpie mark.
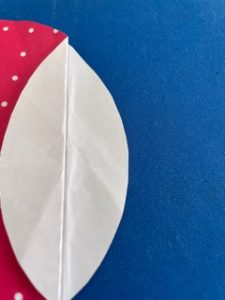
- After you have cut them place each 12 inch circle on the score board and score at 2 inches and again at 8 1/2 inches. (score each circle)
- The end that you scored at 8 1/2 inches will be the bottom of your pillow box. The end that you scored 2 inches will be your handle.
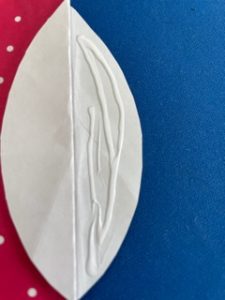
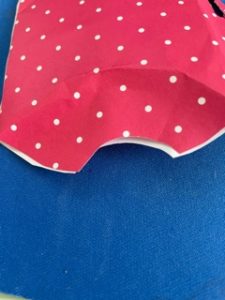
- Crisp the bottom score lines. (That is the end you scoed 8 1/2 inches. Leaving an 1 1/2 from score line to edge of paper.) Then turn each circle so the wrong side is facing upward. Line up the score lines of the bottom. By this I mean when you crisped up the score marks your fold will create a line and you should have a half circle on each circle that is facing upward.
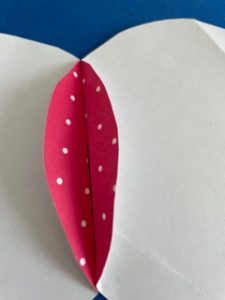 Now fold at the score lines.
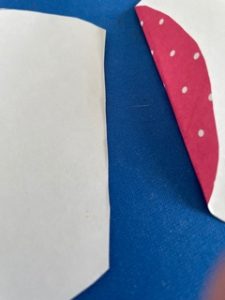
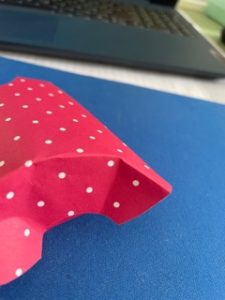
8. Now cut one at the half circle. This will lead you to next step.
9. Put glue on the folded part that remains after you cut off one fold. Then glue down onto the cut part. Allow a few minutes to dry.
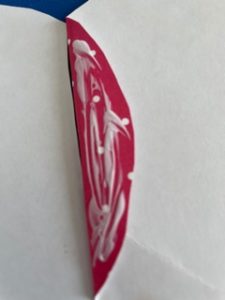
10. Then fold as shown. Now the bottom of your box is created.
11. Now lean your attention to the top which will be your handle. You are basically going to follow the steps that you completed for the bottom.
Except: You aren’t cutting off any of the top at this time.
12. You can now add glue to 1/2 of the top as shown.

13. Fold over so that both sides are glued together. Now your handle is almost ready to finish.
While you are waiting for glue to dry lets score the sides. You will need your 10 inch disk again.
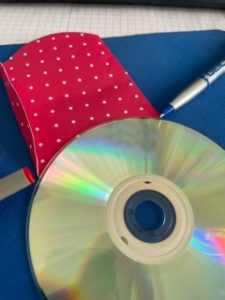
14. With the 10 inch disc (The picture for posting reasons id smaller but use your 10 inch disc.), place founded side facing the middle of box. Make sure that you line up with the score marks on either side of the box shape. The pens in the picture are showing you where to line up. Now score around the edge of the disc. Do this to all four sides. This will become the closure to the box.
15. With a punch, I used my 1 3/8 circle punch, punch a half circle on the sides. These will become the finger pulls of the box.
16. Now work those fold marks by gingerly pinching at the fold lines. When you have worked those score line you should have something like this.
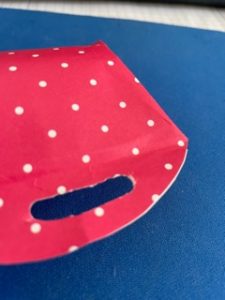
17. Now back to the handles. In the middle of your handle make a punch. If you used the label punch You would center it in the middle of the handle not to close to the edge and punch. To create a nice handle you may need to move the punch down just to create a larger handle space. If you use the circle unch you would place it in the middle of handle space and puch. Then move to right and punch again. Make sure when you move to the right you can see about of 1/3 of the previous hole you punched. The with your scissors clean up the handle so there are not any rough edges.
Make sure to place your gift inside and close all the sides. You can decorate with ribbon, tag and bow.
*If you don’t wrap ribbon around gift you may want to use a little tape to avoid anyone peeking inside.
Have fun!
