
I often use card sketches when my creativity is sluggish, when I want to use up scraps or ephemera from my stash, when I want to revisit some of my favorite retired products, or when I have new products and I want to play with them. So this Saturday Sketch satisfies all of the reasons I use a sketch.
I selected the Stampin Pretty Sketch #66. I liked that the sketch was simple but with the possibility of becoming the base that could inspire a beautiful card.
I decided to edit the card sketch because I really wanted to play with a variety of products. So, here is my edited version of card sketch #66.
![]()
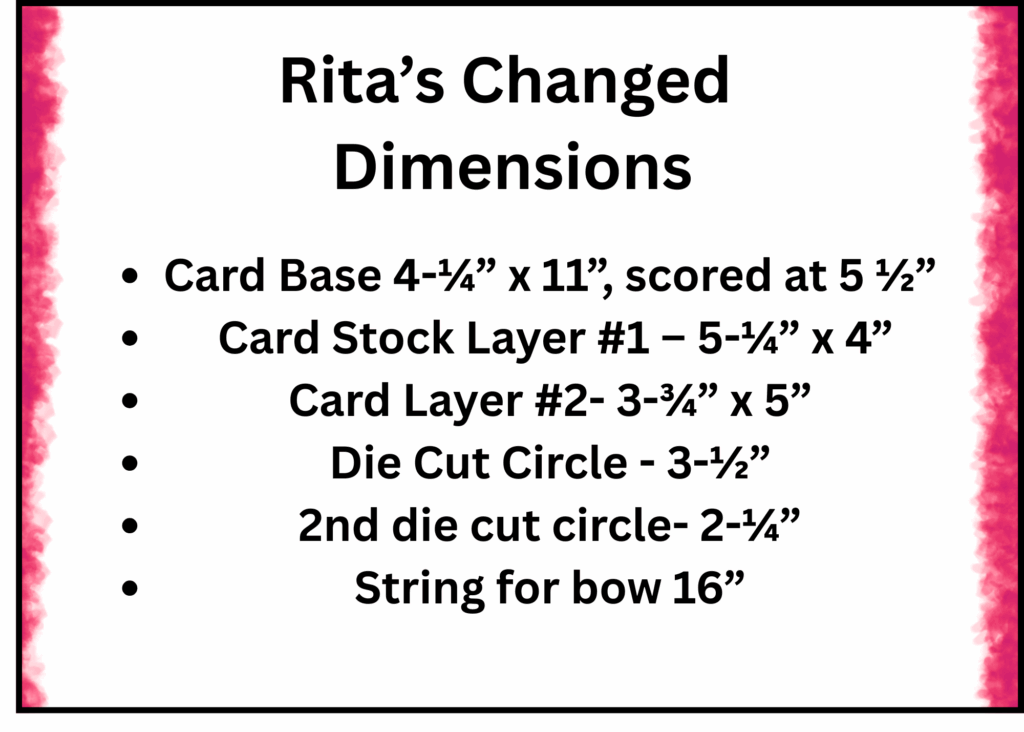
These are the measurments for my edited card sketch.
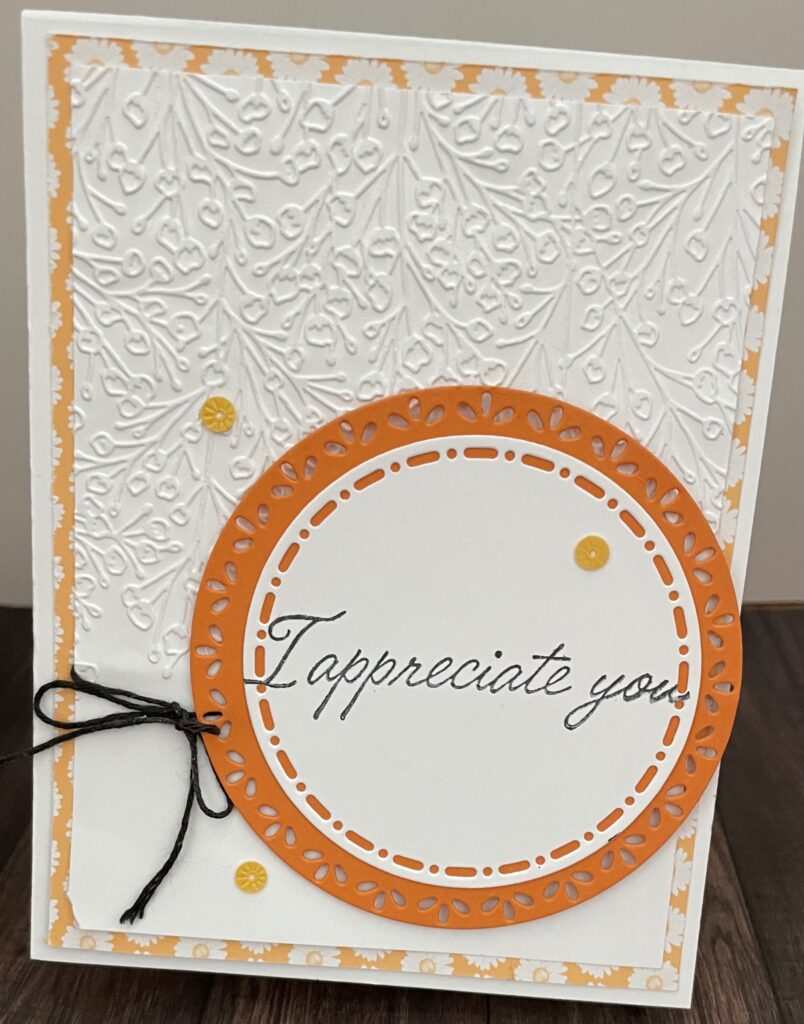
Below is the first card I created and the supply list.
Stampin’ Up Supplies:
- Basic White Card Base- 4-¼” x 11” with 11” facing up score at 5-½” and fold. https://www.stampinup.com/products/basic-white-8-1-2-x-11-thick-cardstock?demoid=2242482
- A Piece of DSP from the Wildflower Birthday Designer Series Paper that measures 4” x 5-¼” https://www.stampinup.com/products/wildflower-birthday-12-x-12-30-5-x-30-5-cm-specialty-designer-series-paper?demoid=2242482
- Adhere onto the front of the card base.
- The second layer is a 3-3/4″ x 5″ piece of Basic White cardstock embossed in https://www.stampinup.com/products/pressed-flowers-embossing-folder?demoid=2242482
- I used about 14″-16″ and wrapped it around embossed layer. Iused twine from our essentials twine package. https://www.stampinup.com/products/baker-s-twine-essentials-pack?demoid=2242482
- Adhere the embossed layer onto the card base where you have already adhered the DSP layer.
- The larger circle is cut using the second largest Spotlight on Nature Dies. I used Pumpkin Pie cardstock. https://www.stampingup.com/products/spotlight-on-nature-dies?demoid=2242482 https://www.stampiinup.com/products/cardstock-8-1-2-x-11-pumpkin-pie?demoid=2242482
- The circle that holds the sentiment is cut from Basic White cardstock and the third largest die from the Spotlight on Nature was used.
- The sentiment “I appreciate you” was stamped in tucedo Black ink. The sentiment comes fro the Impressions Abloom stampset. http://https”//www.stampinup.com/products/impressions-abloom-photopolymer-stamp-set-english?demoid=2242482
- Adhere the white circle onto the larger Pumpkin Pie circle.
- Adhere the circles onto the card base using dimensionals. https://www.stampinup.com/products/stampin-dimensionals?demoid=2242482
Tools used to create the card.
- Paper trimmer with score blade https://www.stampinup.com/products/paper-trimmer?demoid=2242482
- Cut and Emboss https://www.stampinup.com/products/stampin-cut-emboss-machine?demoid=2242482
- Bonefolder https://www.stampinup.com/products/bone-folder?demoid=2242482
- Snips https://www.stampinup.com/products/scissors-paper-snips?demoid=2242482
Adhesives
- Multi purpose liquid glue https://www.stampinup.com/products/glue-liquid-multipurpose?demoid=2242482
- Stamp & Seal https://www.stampinup.com/products/stampin-seal?demoid=2242482
This card offered the opportunity to play with new products. I love the embossing folder.
