
I always feel challenged to use the materials in the monthly Paper Pumpkins to create the intended cards as well as alternatives. I am always excited to see how I can use products from my craft space as well as the supplies to create more and different cards.
Here are a few of the cards I made using April 2025’s Paper Pumpkin titled Inked Occasions and products from my space.

This is a gate fold. I used part of a card base and the word “hugs” from the Paper Pumpkin and some gold foil and basic white and berry burst cardstock from my studio.
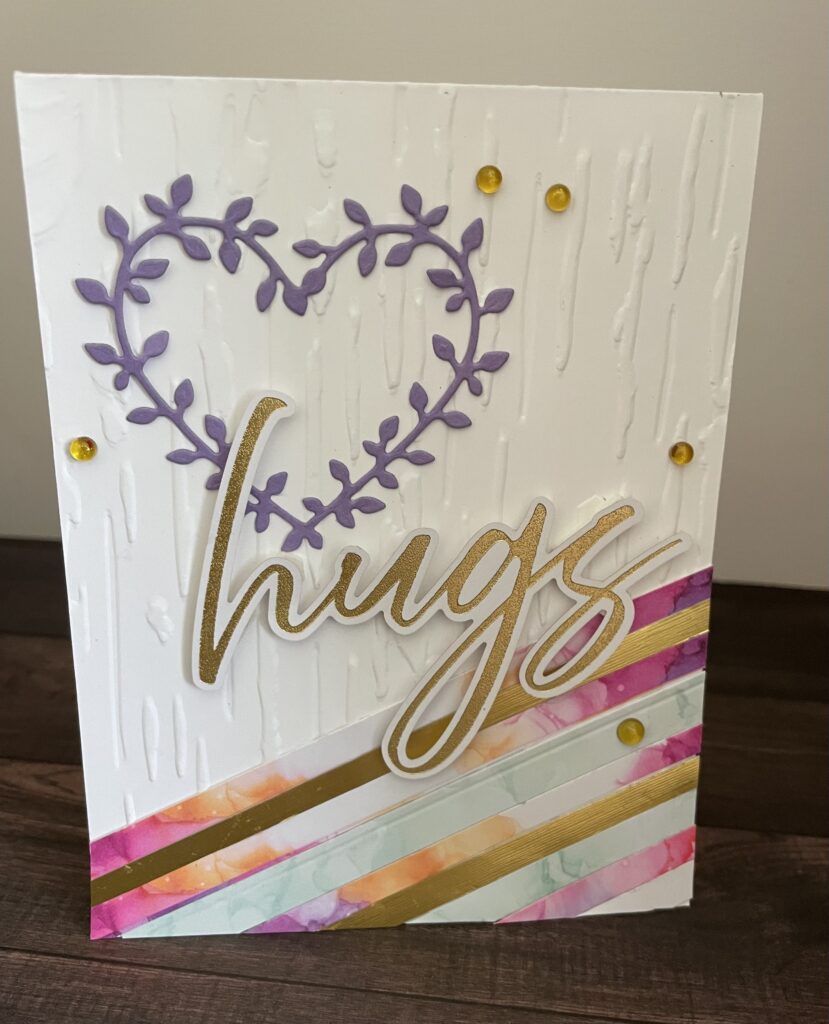 I started with a Basic White cardbase. I then cut a layer (4” x 5-¼”) and embossed it with the Birchwood embossing folder. I adhered this embossed layer to the cardbase.
When I cut the card bases provided in the Paper Pumpkin Kit, I had strips of cardstock remaining. I then adhered them across the lower right corner of the embossed layer.
I also used the heart die that I chose from Sale-abration earlier this year, to cut a heart shape from a scrap of Highland Heather. I then embellished with some Gold Adhesive Backed Dots. I also used the word “hugs” from the Paper Pumpkin as my sentiment.
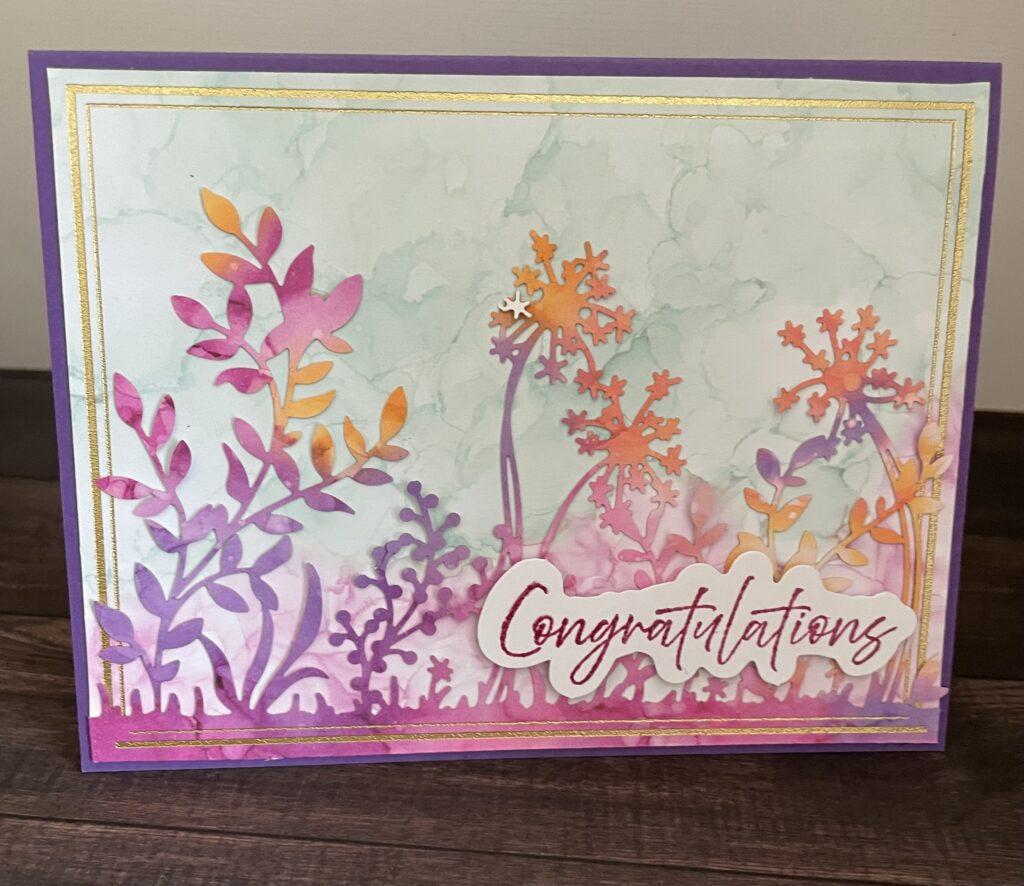
I cut apart one of the card bases provided in the Paper Pumpkin and adhered it to a basic White card base. I then adhered to flourish ephemera to the front of the card and embellished with some rhinestones Basic Jewels.

I cut an 8-½” x 11” sheet of Berry Burst cardstock to 5-½” x 8-½”, with the 8-½ side facing up. I scored at 3” and 7-¼”. After securing the fold lines I had a gate fold. I cut apart a card base which provided two panels. One measuring 2-¾” x 5-¼” and the other 1” x 5-¼”. I adhered the 2-¾” x 5-¼” cardstock panel to the 3”x -/2” part of the Berry Burst card base. I also adhered the smaller decorative panel to the narrow panel at the right side panel.
I took a long strip of Basic White and cut it to 9” x 1”. I also layered this white strip on a strip of gold foil thus creating a belly band. Then I attached the gold sentiment “hugs” to the belly band and covered the seam where the belly band was attached.
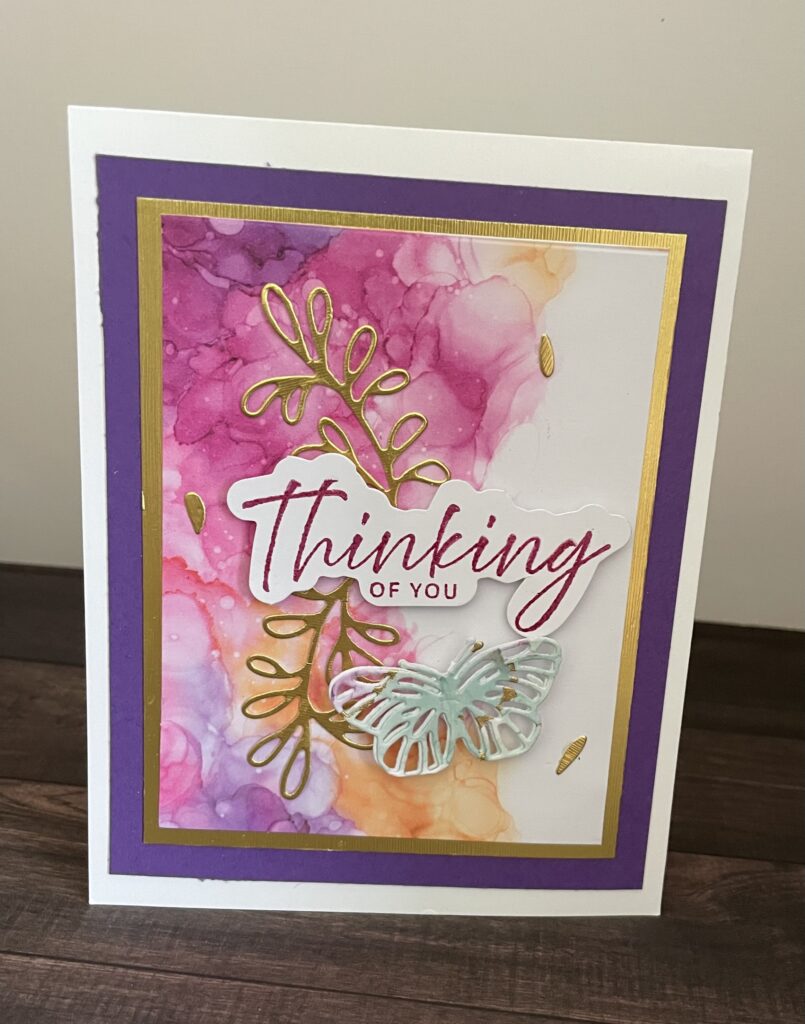
I used an A2 sized Basic White card base for this card. I then used a 4-¼” x 5-¼” layer cut from Gorgeous Grape card stock. I used a 3-¾” x 5” layer of Gold foil and layered that on the Gorgeous Grape. I cut a 3-¼” x 4-¾” piece of one of the decorative card bases provided in the Paper Pumpkin. I embellished the front of the card with a butterfly and some gems from my stash. I used the “Thinking of you” stamp provided in the Paper Pumpkin.
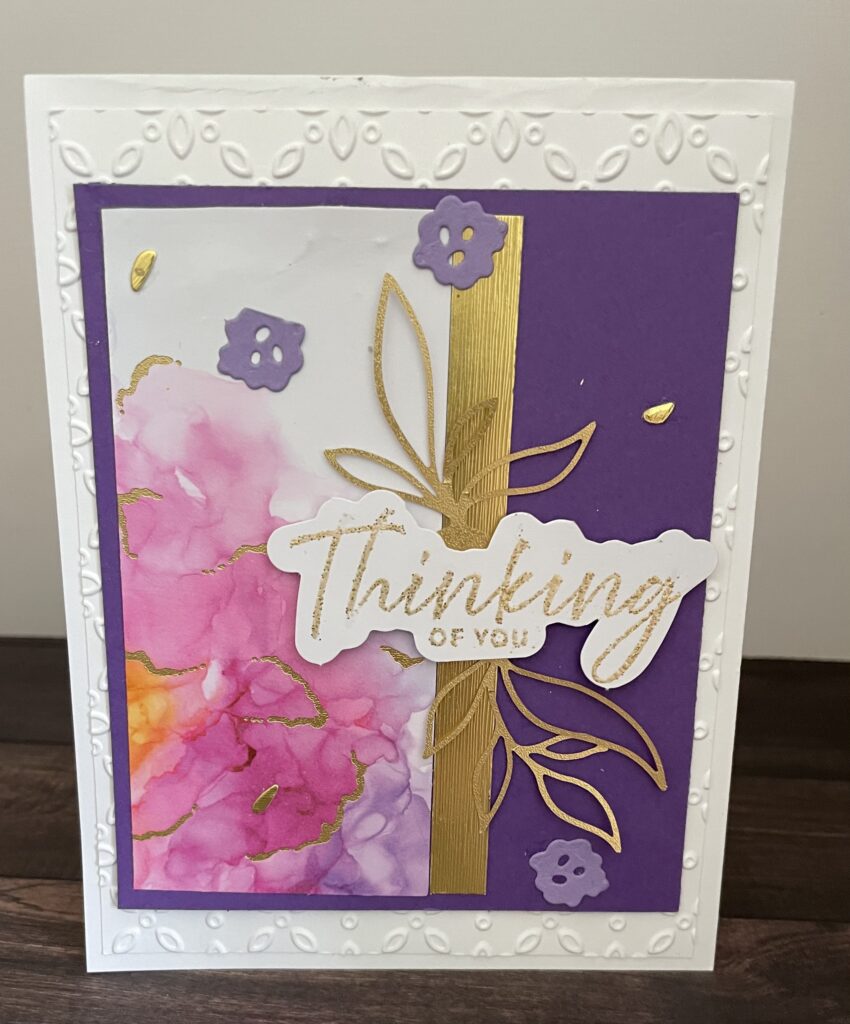
Again I started with an A2 size card base. I embossed a piece of white card stock that measured 4” x 5-¼” in my eyelet embossing folder. This creates so much texture. Then I layered a 3-¾” x 3-¼” of Gorgeous Grape cardstock on that embossed layer. I had a 3-½” x 3” piece of decorative card base from the paper Pumpkin that I adhered to the Gorgeous Grape cardstock. I also had a strip of the gold foil that I cut down and adhered it to the right side of the decorative panel. I embellished some items in my stash and used the “Thinking of you” sentiment from the Paper Pumpkin.
